After creating my basic head shape I then went on to modify certain areas, including the cheek bones, nose and eyes to make them more in line with the reference images. The next step on from this was to start UV Mapping my model. This meant deselecting symmetry and selecting all of the poly's faces with the paint tool, ensuring to leave the ear and surrounding areas as these would be done separately. I then put the face model inside of a cylindrical map, ensuring that there was enough space for the mirror object to fit inside with it.
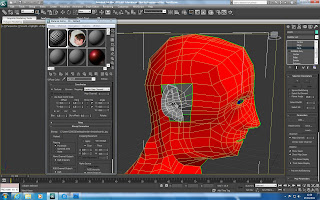 |
| Face highlighted |
From this i then applied a checkered pattern to the whole model to see where the texture was stretched out. This was to help the task of moving the mapping around to assist in placing the material equally. Clicking on "Edit" inside the mapping parameters brought up the editor, which can be seen in the image below. This allowed me to use the relax tool to spread the material vertex's out. This changed the way the material would be laid out, without changing the vertex's of the model.
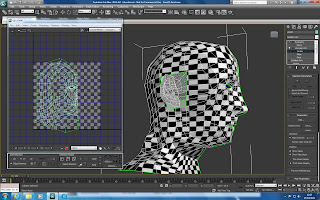 |
| Using the editor |
After the model was spaced out efficiently, and I had checked for high numbers of inverted and overlapping faces I resized and fit the model to the texture background.
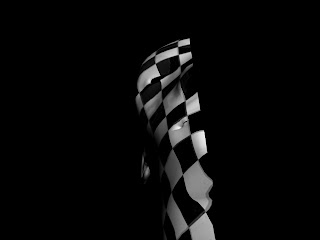 |
| Render after UV Mapping |
After the face was completed I then moved on to reapeating these stages for the ear, this time making the mapping with a pelt map insted of a cylindrical shape. After completing both of these steps I feel reasonably pleased with the results. I an see there are still errors, mostly in the neck and top of the head, but due to time and other work Im going to pursever with what I have.
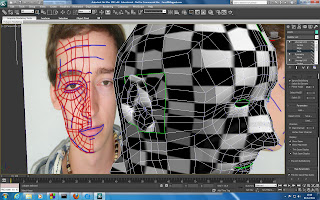 |
| Ears UV Mapped |


No comments:
Post a Comment